How To Roll A Wood: A Comprehensive Guide For The Curious Minds
Ever wondered how to roll a wood? Well, you're not alone. Many people have stumbled upon this quirky phrase and scratched their heads. But don't sweat it—we’ve got you covered! Whether you’re into crafting, woodworking, or just curious about unconventional skills, this guide will walk you through the ins and outs of rolling a wood like a pro.
Let's be real here—rolling a wood might sound bizarre at first glance. But trust me, once you dive into it, you'll realize it’s not as complicated as it seems. In fact, it can be a fun and rewarding activity that combines creativity with practicality. So, if you're ready to level up your skills, keep reading!
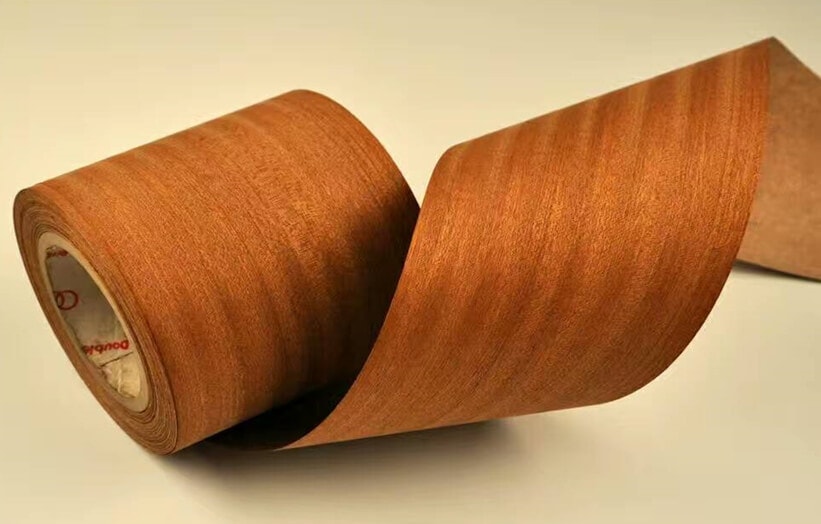
Before we jump into the nitty-gritty details, let's clarify something. Rolling a wood doesn't mean wrapping it in paper like a joint. Nope, it's about shaping, bending, or manipulating wood into various forms. This technique is used in furniture making, art projects, and even DIY crafts. So, buckle up because we're about to embark on an exciting journey!
Read also:Calvin And Hobbes Existentialism A Deep Dive Into The Philosophical Adventures
Understanding the Basics of Wood Rolling
First things first, let's break down the basics. Rolling a wood involves using tools, techniques, and patience to shape wood into desired forms. It’s not just about brute force; it’s an art that requires finesse and precision. Think of it as giving wood a makeover—transforming it from a rigid block into something sleek and stylish.
What Tools Do You Need?
Every great project starts with the right tools. For rolling a wood, you’ll need:
- A sturdy workbench
- A wood bender or steam box
- A saw for cutting wood into manageable pieces
- Sandpaper for smoothing rough edges
- Gloves to protect your hands
Remember, having the right tools makes all the difference. Don’t skimp on quality—it’s worth the investment!
Step-by-Step Guide on How to Roll a Wood
Now that you’ve got your tools ready, let’s dive into the step-by-step process:
Step 1: Choose the Right Wood
Not all woods are created equal. Some are more flexible than others, making them ideal for rolling. Popular choices include:
- Basswood
- Pine
- Cedar
These woods are soft and easy to manipulate, perfect for beginners.
Read also:On The Hook Fish Truck Your Ultimate Seafood Adventure On Wheels
Step 2: Prepare Your Wood
Once you’ve picked your wood, it’s time to prepare it. Cut it into the desired length and width. Make sure the edges are smooth and free of splinters. This step is crucial because a well-prepared wood is easier to work with.
Step 3: Heat It Up
Here’s where the magic happens. To make wood pliable, you need to heat it. You can do this using a steam box or a simple pot of boiling water. Submerge the wood for about 10-15 minutes, depending on its thickness. The heat softens the fibers, making it easier to bend.
Step 4: Bend It Like Beckham
Once your wood is heated, it’s time to roll it. Use a jig or a form to guide the wood into the desired shape. Apply gentle pressure, working slowly and steadily. Remember, rushing this step can cause the wood to crack or break. Take your time and let the wood do its thing.
Step 5: Let It Cool
After shaping your wood, let it cool down. This step is important because it helps the wood retain its new form. You can use clamps or weights to hold it in place while it cools. Once it’s completely cooled, you’re good to go!
Common Mistakes to Avoid
Even the best wood rollers make mistakes. Here are some common pitfalls to watch out for:
- Using the wrong type of wood
- Not heating the wood long enough
- Applying too much pressure while bending
- Skipping the cooling process
By avoiding these mistakes, you’ll save yourself a lot of frustration and ensure better results.
Advanced Techniques for Pro Rollers
Once you’ve mastered the basics, it’s time to level up your skills. Here are a few advanced techniques to try:
Compound Bending
This technique involves bending wood in multiple directions. It’s perfect for creating complex shapes like curved furniture legs or intricate sculptures.
Laminating
Laminating involves layering thin strips of wood and gluing them together. This technique adds strength and flexibility to your projects, making it ideal for large-scale designs.
The Science Behind Wood Rolling
Ever wondered why wood can be rolled? It all comes down to science. Wood is made up of cellulose fibers, which give it its strength and rigidity. When heated, these fibers soften, allowing the wood to bend without breaking. Pretty cool, right?
Factors Affecting Wood Flexibility
Several factors affect how easily wood can be rolled:
- Moisture content
- Wood species
- Temperature
- Thickness
Understanding these factors can help you achieve better results.
Applications of Wood Rolling
So, what can you do with rolled wood? The possibilities are endless! Here are a few ideas:
- Creating curved furniture
- Building musical instruments
- Designing decorative items
- Constructing architectural elements
With a little creativity, you can turn rolled wood into stunning works of art.
Tips for Beginners
If you’re new to wood rolling, here are some tips to help you get started:
- Start with small projects to build confidence
- Practice on scrap wood before tackling larger pieces
- Don’t be afraid to experiment
- Seek advice from experienced woodworkers
Remember, practice makes perfect. The more you roll, the better you’ll get!
Where to Learn More
Ready to take your wood rolling skills to the next level? Here are some resources to check out:
- Online tutorials and videos
- Woodworking forums and communities
- Local workshops and classes
These resources can provide valuable insights and inspiration for your projects.
Conclusion
In conclusion, learning how to roll a wood is a rewarding skill that combines creativity with practicality. By following the steps outlined in this guide, you can transform raw wood into stunning creations. Remember to choose the right wood, use the proper tools, and practice patience and precision.
So, what are you waiting for? Grab your tools and start rolling! And don’t forget to share your experience in the comments below. We’d love to hear about your projects and see your awesome creations. Happy rolling, folks!
Table of Contents
Article Recommendations